
Deploying LLaMA 2 on AWS SageMaker: A Step-by-Step Guide
goML’s DataScience team specializes in finetuning LLMs for business use cases, helping clients achieve measurable outcomes from their GenAI efforts. The team has built several custom LLMs on LLaMA 2, Claude 2, GPT 3.5 & MPT 7B, to name a few. In this article, which is a part of the Finetuning LLMs for businesses series, we explain how LLaMA 2 custom model can be deployed on Amazon SageMaker. The team covers detailed steps, as well as anecdotes to troubleshoot deployments.
Here we cover using AWS Lambda and AWS API Gateway to create an API for your hosted LLAMA-2 model is a popular and convenient approach. This lets you interact with the model through HTTP requests and obtain real-time responses.
Episode 1: Host the LLAMA 2 Model on AWS SageMaker
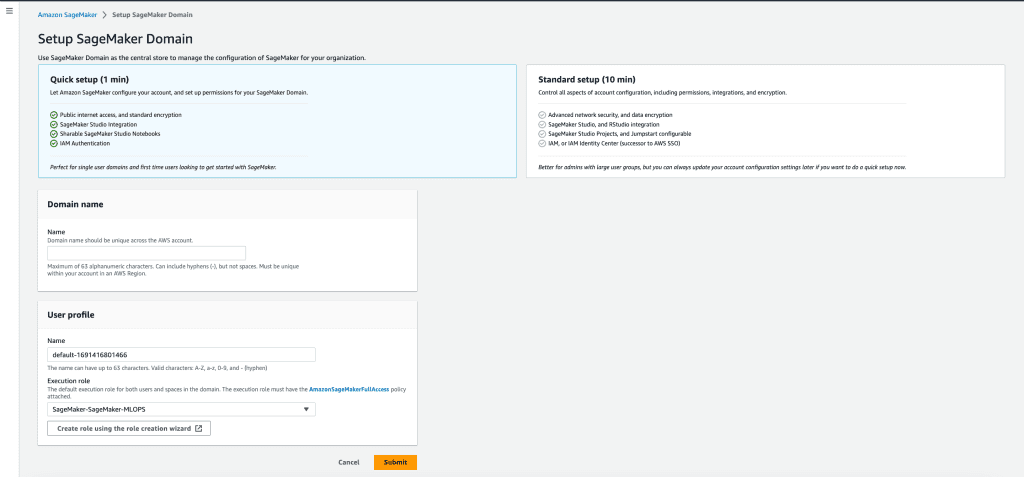
Provision a domain on AWS Sagemaker
- Sign in to the AWS Management Console: Go to the AWS Management Console at https://aws.amazon.com/console/ and sign in with your AWS account credentials.
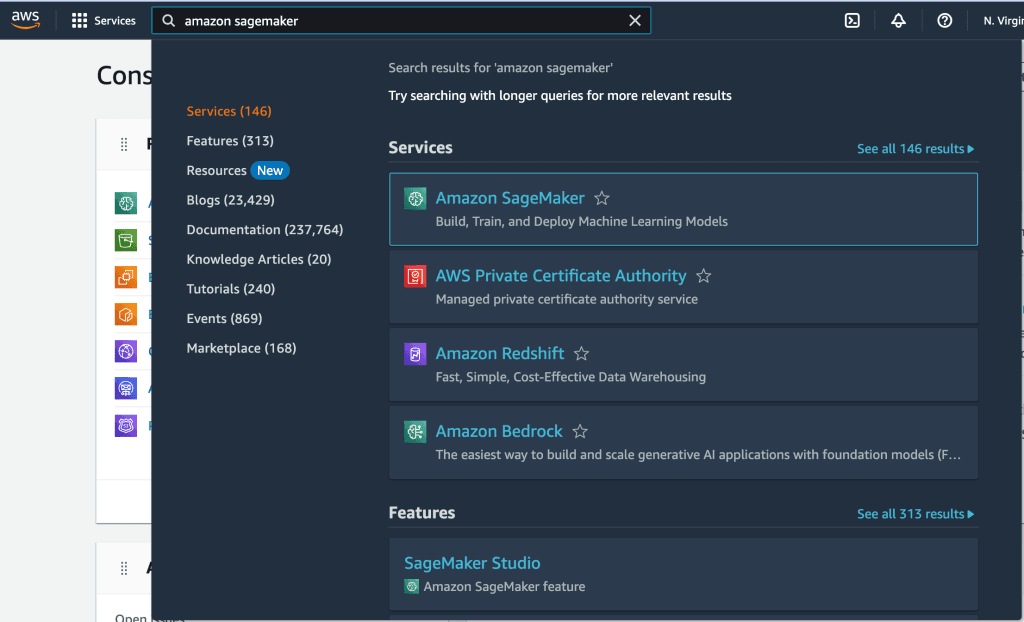
- Navigate to Amazon SageMaker: In the AWS Management Console, search for "SageMaker" in the search bar, and click "Amazon SageMaker" to open the SageMaker console.
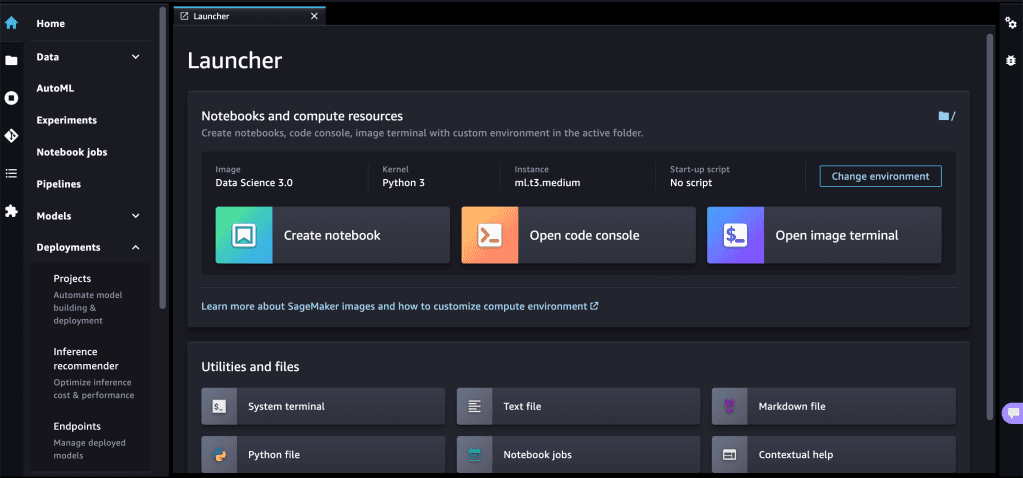
- Create a Domain: In the SageMaker console, click "SageMaker Studio" from the left-hand navigation pane.
- Click on "Create Domain": On the SageMaker Studio page, click the "Create domain" button to start the domain creation process.
- Configure Domain Settings:
- Domain Name: Enter a unique name for your SageMaker Studio domain.
- Network Access: Choose the VPC settings for your domain. You can allow internet access or restrict it to a specific VPC.
- IAM Role: Choose an existing IAM role or create a new one that grants the necessary permissions for users in the domain.
- Sharing Settings: Choose whether you want to enable sharing with other AWS accounts.
- Review and Create: Review the domain configuration settings, and click "Create domain" to create the SageMaker Studio domain.
- Wait for Domain Creation: The domain creation process may take a few minutes. Once the domain is created, you can access it from the SageMaker Studio console.

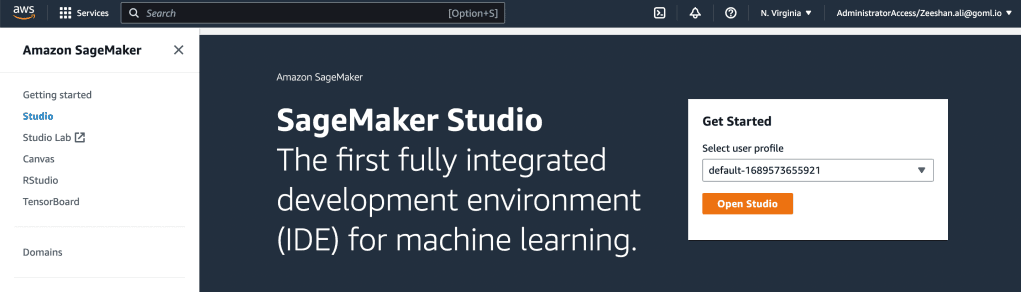
Kickstart a Sagemaker Studio Session
- Launch Studio: Within the selected domain, click the "Open Studio" button to launch the SageMaker Studio session.
- Wait for the Session to Start: The Studio session may take a few seconds to start. Once the session is up and running, you will be redirected to the SageMaker Studio interface.
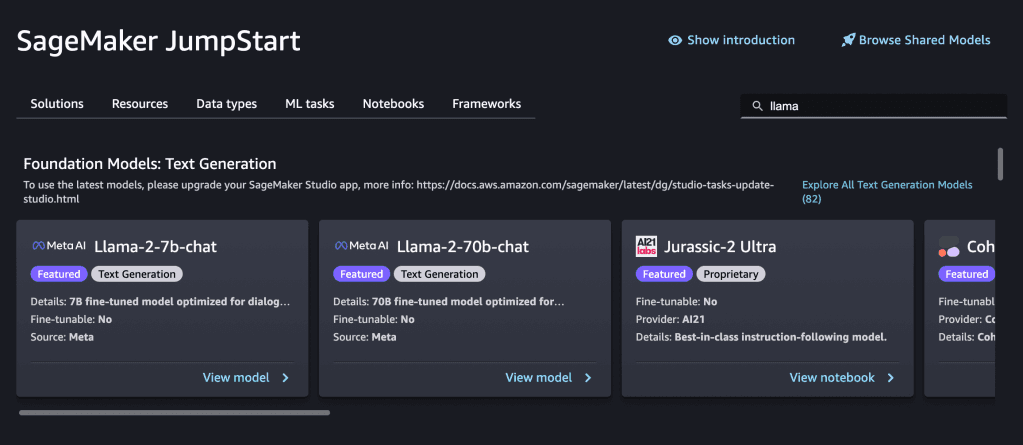
Elect the Llama-2–7b-chat model
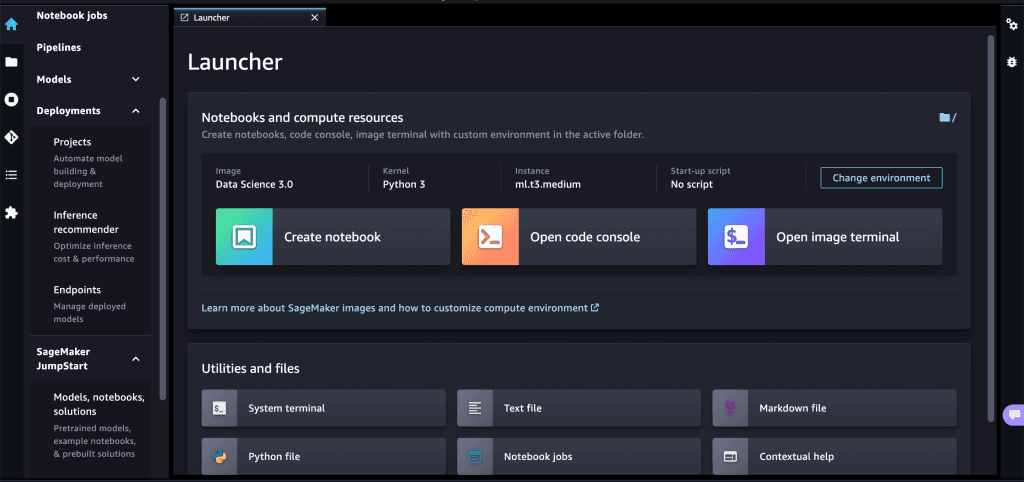
- Access JumpStart Models: Once inside SageMaker Studio, you can access JumpStart foundation models from the JumpStart tab in the left-hand sidebar.
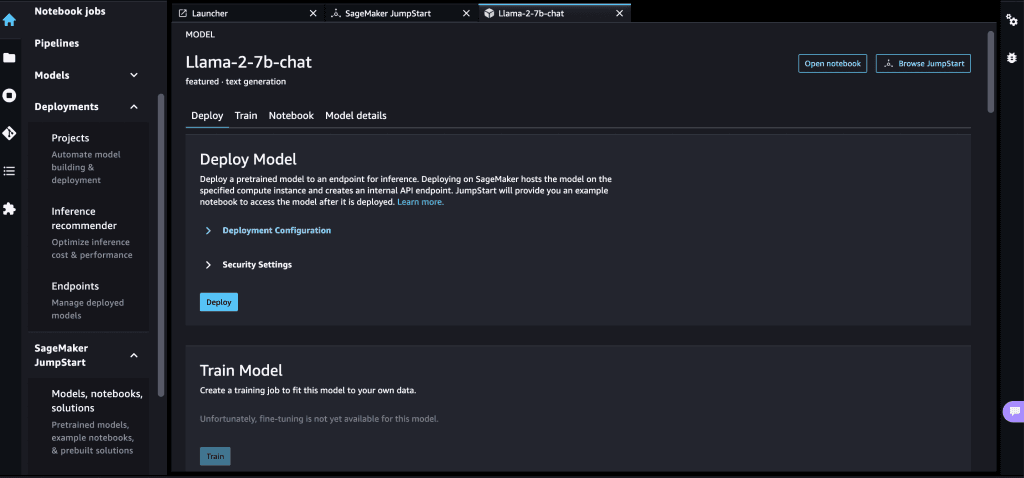
- Choose LLAMA-2-7B-Chat and Deploy the Model: Search and Select the foundation model LLAMA-2-7B-Chat you want to use and deploy the model.

Episode 2: Create an AWS Lambda Function
Enter AWS Lambda and set up a Lambda Function
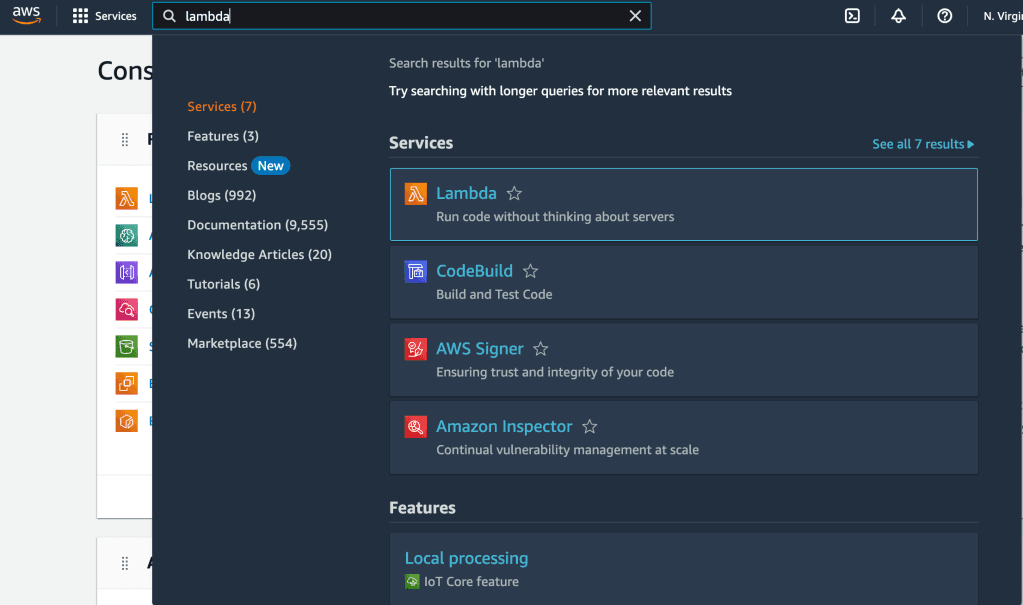
- Navigate to Lambda: Navigate to the AWS Lambda service. You can find it by typing "Lambda" in the AWS services search bar or by selecting "Compute" and then "Lambda" from the services menu.
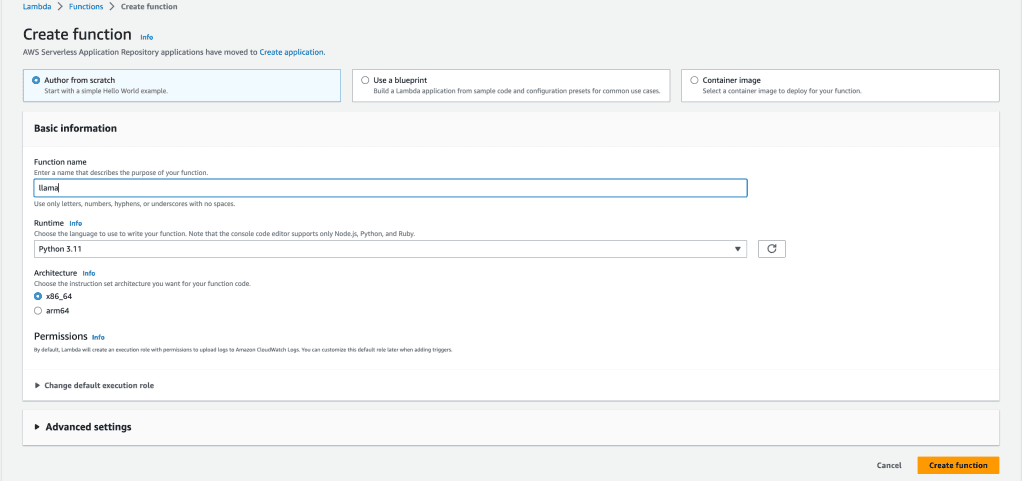
- Create Function: Click the "Create function" button to start the process of creating a new Lambda function.

Mention the endpoint point of your model
- Environment Variables: If your Lambda function needs environment variables, in this case ENDPOINT_NAME, you can set them in the "Environment variables" section.
Generate the code segment responsible for invoking the Llama-2 model
- In the "Function code" section, you can paste your code directly and click on Deploy Button.
import os
import io
import boto3
import json
# grab environment variables
ENDPOINT_NAME = os.environ['ENDPOINT_NAME']
runtime= boto3.client('runtime.sagemaker')
def lambda_handler(event, context):
print(type(event['body']))
response = runtime.invoke_endpoint(EndpointName=ENDPOINT_NAME,
ContentType='application/json',
Body=event['body'],
CustomAttributes="accept_eula=true")
print("response completed")
result = json.loads(response['Body'].read().decode())
print("result")
print(result)
return {
"statusCode": 200,
"body": json.dumps(result)
}
Episode 3: Set Up API Gateway
Bind your brand new Lambda function to AWS API Gateway to enable communication
- Add Trigger: Click on Add Trigger button, which is present in the 'Function Overview' Section.
- Select Source: Select API Gateway as the source.
- Create a New API: Select Create New API and fill in the configuration.
Episode 4: Make API Requests and Receive LLAMA 2 Model Response
Use the above API Gateway, API Endpoint as 'api_url'import requests
api_url = 'YOUR AWS API GATEWAY URL'
json_body ={
'context':'animal',
'inputs': 'define cat',
'parameters': {
'max_new_tokens': 50,
'top_p': 0.9,
'temperature': 0.6,
'return_full_text': False
}
}
r = requests.post(api_url, json=json_body)
print(r.json())

.jpg)


